How I made my own magnetic toy
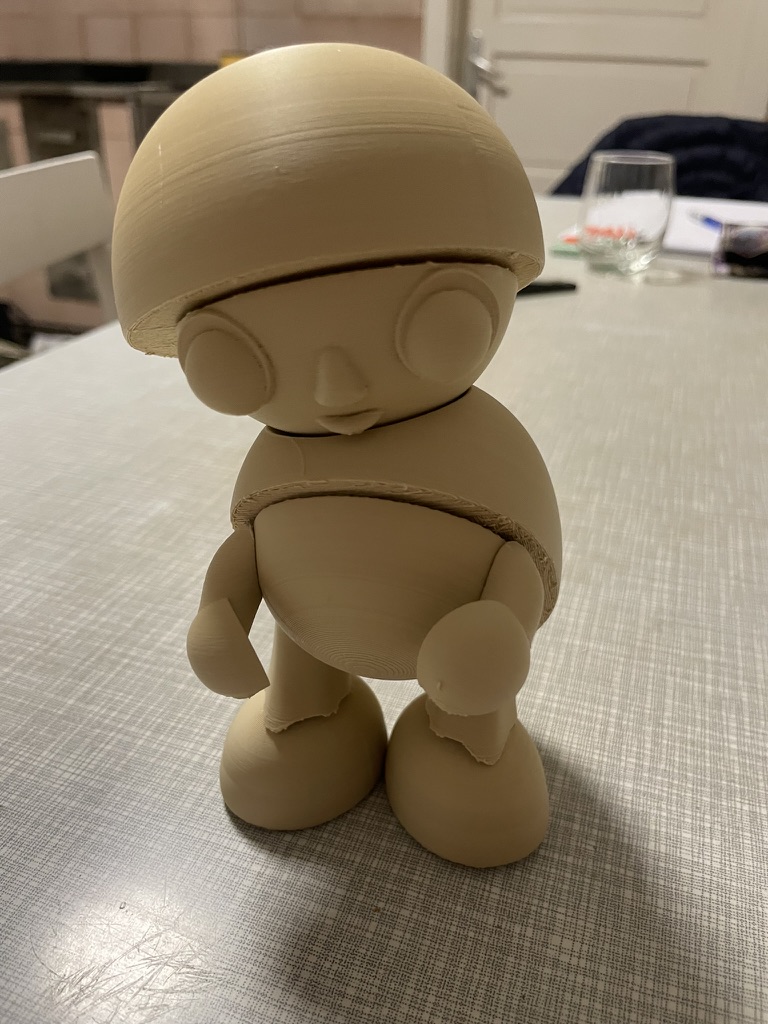
This article is a short diary of my personal project: a designer figure with magnetic joints that I can take apart and reassemble. It was a combination of quick sculpting on a tablet, precise refinement on the computer, 3D printing modular pieces with slots for neodymium magnets, and hand finishing before paint. I took some of the photos right at my desk at home — that is often a more realistic view than a studio gallery.
Why magnets at all?
The purpose of the magnets was not only aesthetic: I wanted a figure that does not break when swapping parts and that I can gradually expand (legs, arms, hat, add-ons). With disc-shaped neodymium magnets in precisely measured holes you get a firm yet reversible connection — without screws and without permanently gluing the whole thing shut.
1. Designing on a tablet and in Blender
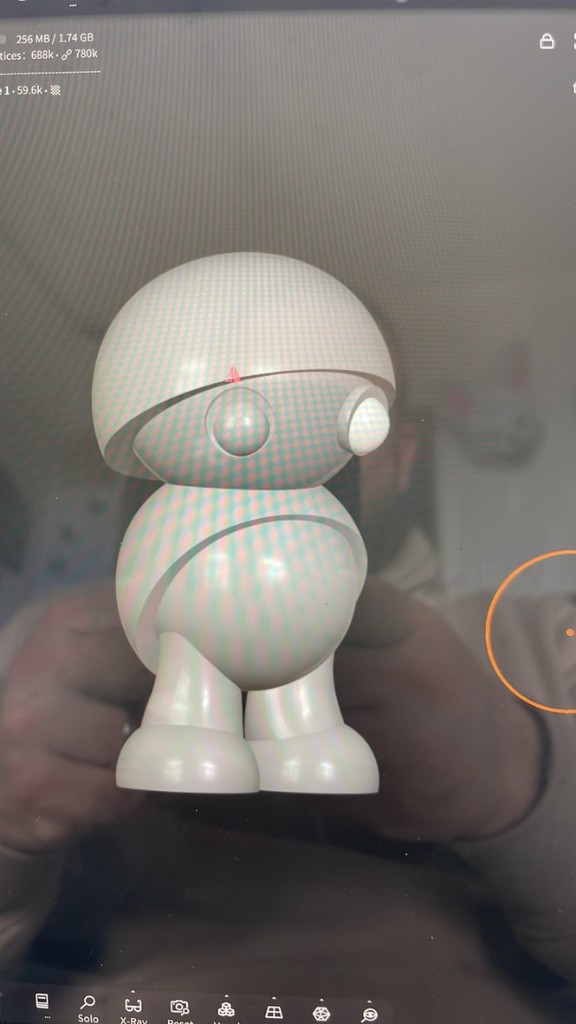
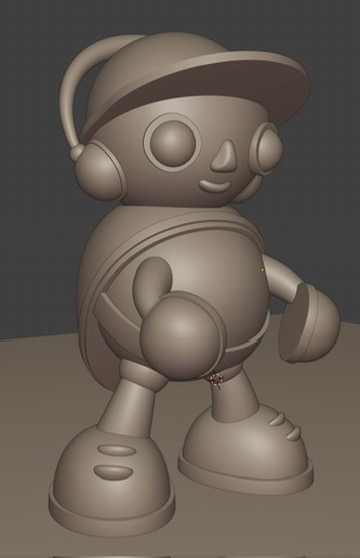
I shaped the early volume in a digital sculpting app on a tablet (a workflow similar to Nomad Sculpt) — comfortable for the first forms of a "vinyl" figure with a big head and thick legs. Once I had a proportional idea, I transferred the model to Blender, split it into printable sections and added conical holes for the magnets so the poles hold correctly (always mark +/- before gluing).
2. Printing and surface preparation
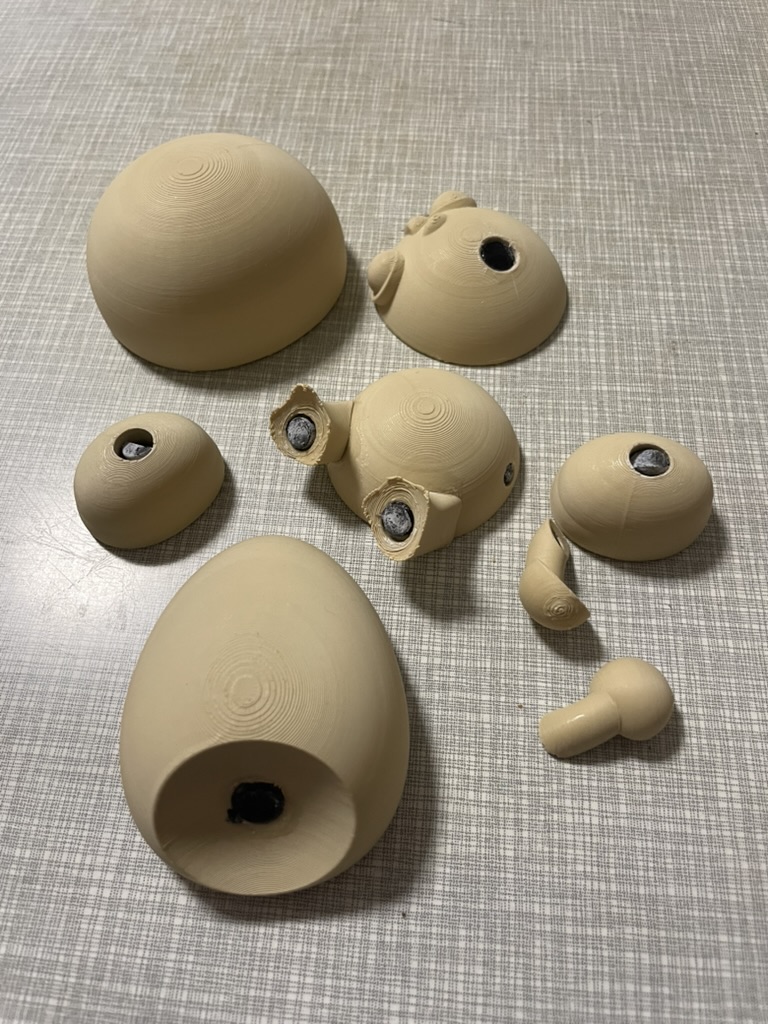
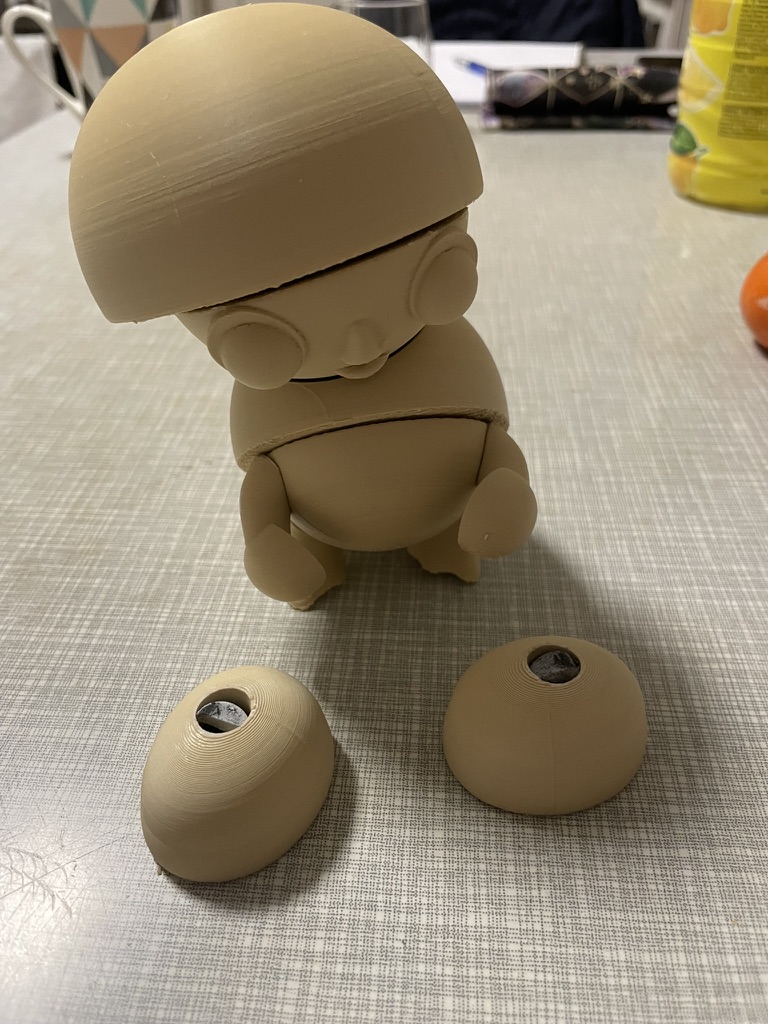
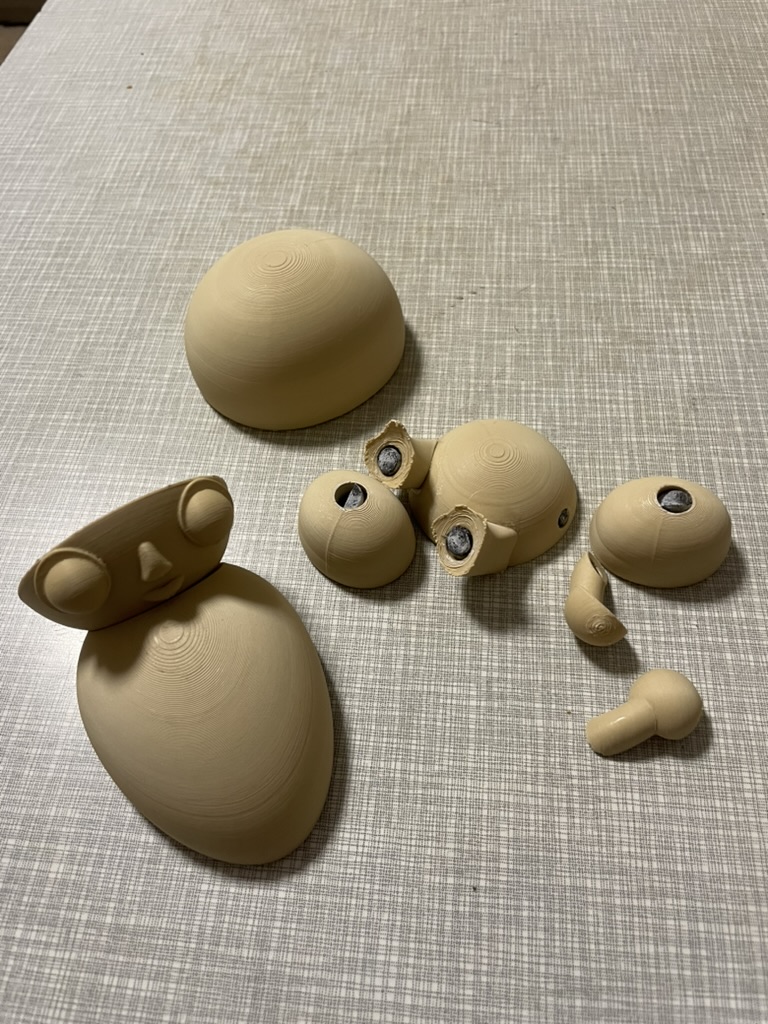
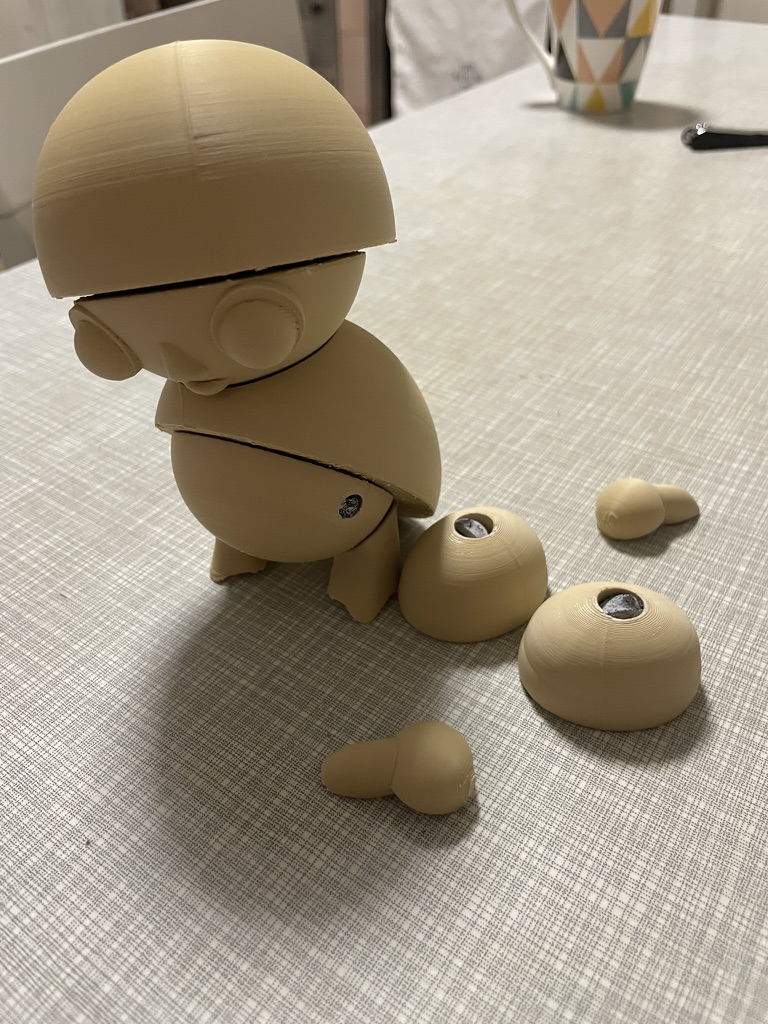
I printed the parts in a light filament — it is easier to see sanding flaws and simpler to follow the assembly sequence. After printing I removed the supports, rounded off the sanded edges and started smoothing the critical surfaces for paint. In the photos it is not hard to notice the familiar circular structure of FDM printing; on the finished piece I reduced it with a combination of sanding and priming.
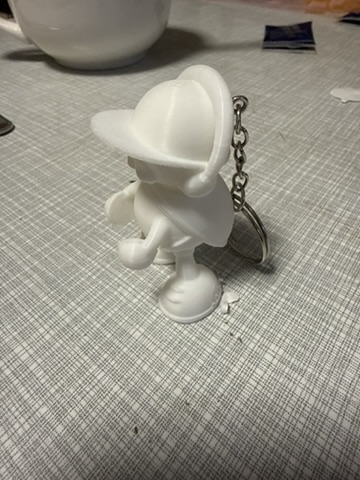
The hole should be 0.1–0.2 mm narrower than the diameter of the magnet disc for a tight fit. Before the final glue I held the magnets together like a stack and marked the direction; otherwise you very quickly end up in a situation where the parts repel instead of attract.
3. Photos from the process
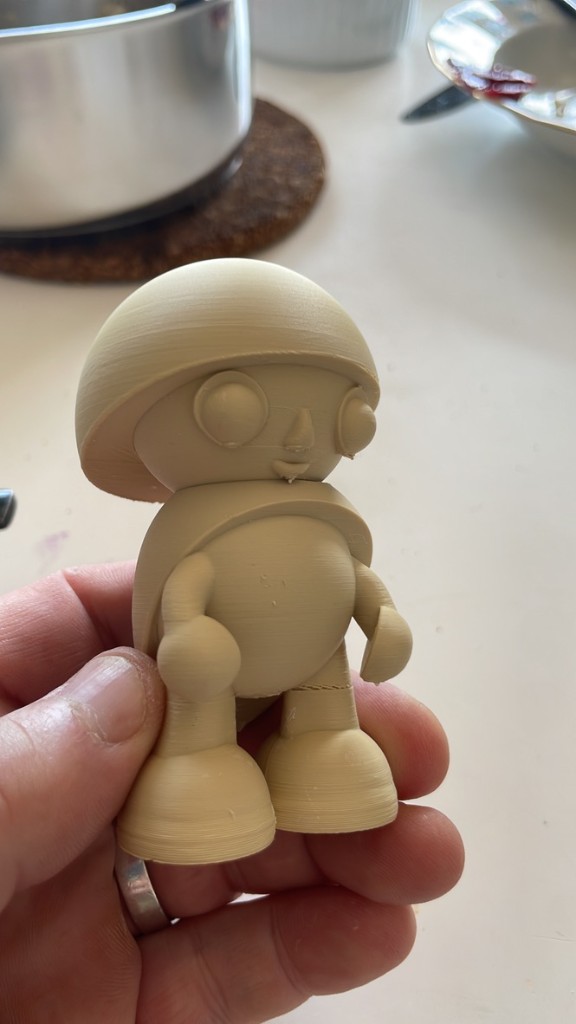
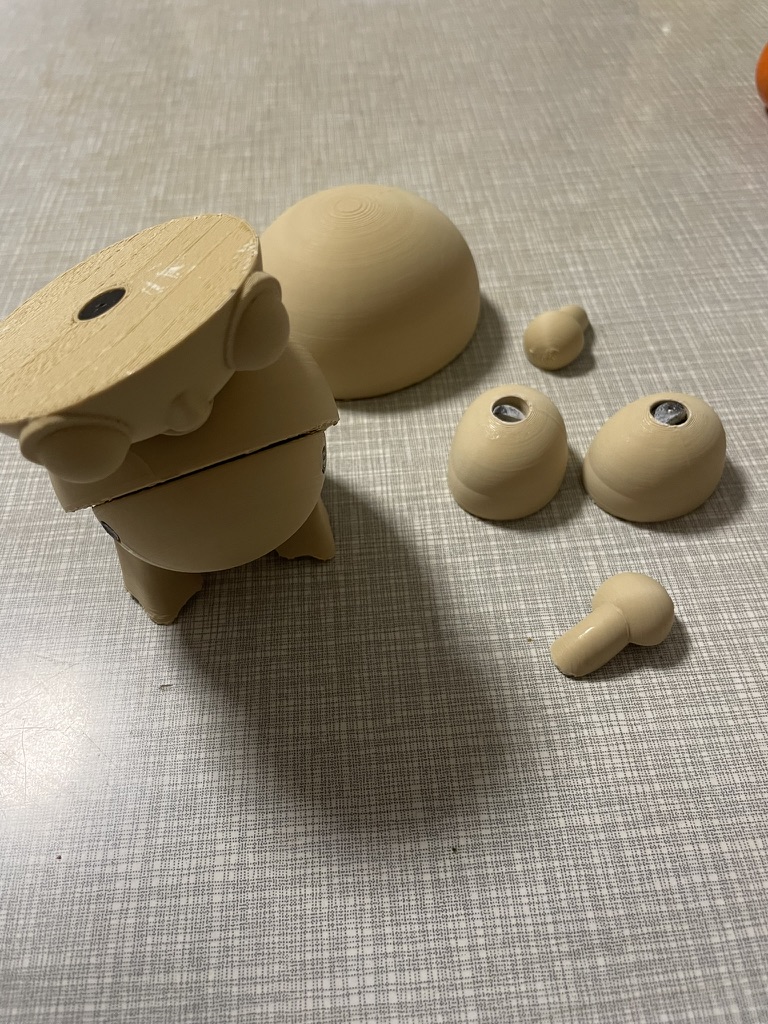
The additional photos are purely utilitarian — they show combinations of parts on the home desk, some experimentation with the color blocks on the torso, and finally a bit of playfulness with the finishing layer. I was not going for the "studio look"; the goal was documentation that comes in handy for the next similar order.
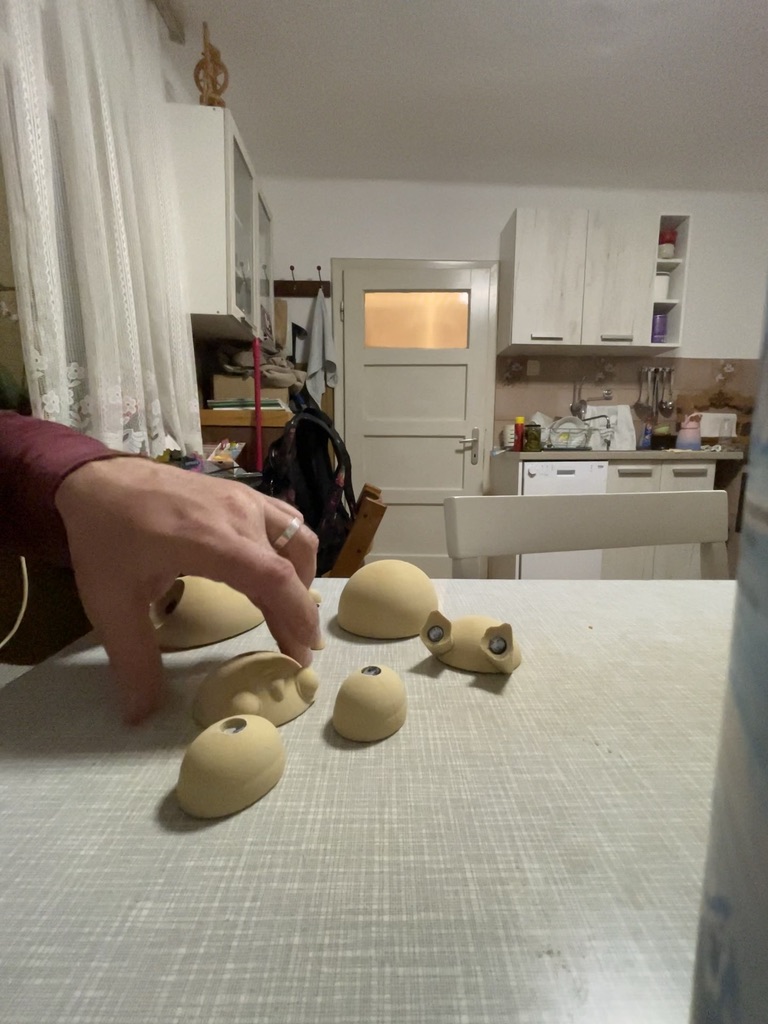
Home workshop setup: a few candles in the background, you leave the natural light as it is and keep the focus on the magnetic joints.
4. Final look and paint
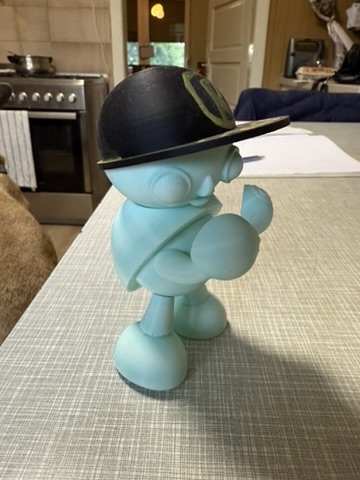
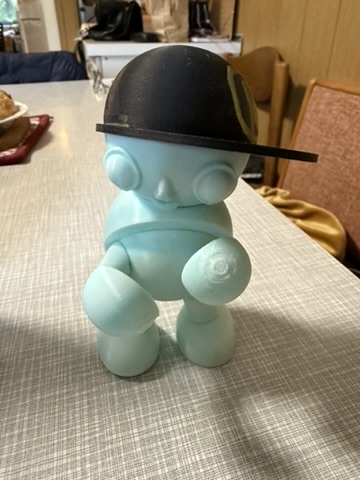
The finishing phase was a combination of acrylic paints and a few protective coats; a pastel mint as the base and contrasting pieces (e.g. belt, cap) give the figure a distinct "art toy" character. A small figure can already look more valuable with just two key color layers than an unfinished grey study in filament.
Video: sculpting → printing → magnets → assembly
Below is a short YouTube Short of the whole workflow — from the digital model and printing to embedding the magnets and the final assembly.
How does this connect to our services?
Similar principles of modular geometry, wall thickness and hand finishing also apply to bobbleheads and 3D statues from photos; the difference lies in the scale of the project and often in the finishing color language depending on the personality of the photo. If you need your own similar character for promotion, a gift or collecting, you can also ask us for custom art direction as part of a prototype value study.
Have an idea for your own figure?
Write a short description, the number of pieces or reference images — we'll prepare an estimate of time and materials.
Submit an inquiry